Episode 2: Print Class/Bill Brandt
The print examined in this episode is offered in an online auction at Sotheby’s: Bette Davis Eyes and Other Natural Phenomena: Photographs at No Reserve, 21-28 July. Buy it and own a piece of photographic history!

Bill Brandt, Rainswept Rooftops, 1933
In this quite episode, I explain my personal method for print examination, which is based on the anagram LTTL.
Look. Touch. Think, Look (again).

LOOK
Take a few minutes to just look at the object. Assess the quality, exposure, paper, and any technical details you can pick up visually.

TOUCH
Look at the image in different kinds of light. With clean hands or nitrile gloves, carefully turn it over and inspect the reverse. Feel the surface of the paper on the front and back.

THINK
Look closely at the surface to find evidence of retouching, masking, or other post-camera work. Use the clues to determine how and when the print was made.

LOOK (AGAIN)
Slow down. Take another moment to just review the clues you have and to make sure you aren’t missing anything.
Looking at other examples of this print shows me that the print in our auction is only a small portion of the original composition:

The Metropolitan Museum of Art, Gilman Collection

The cropped, trimmed version in our auction

“Our” print is only a portion of the original negative.

Retouching can be seen by holding a print at an angle in bright light. Deposits of ink wash will appear somewhat matte.
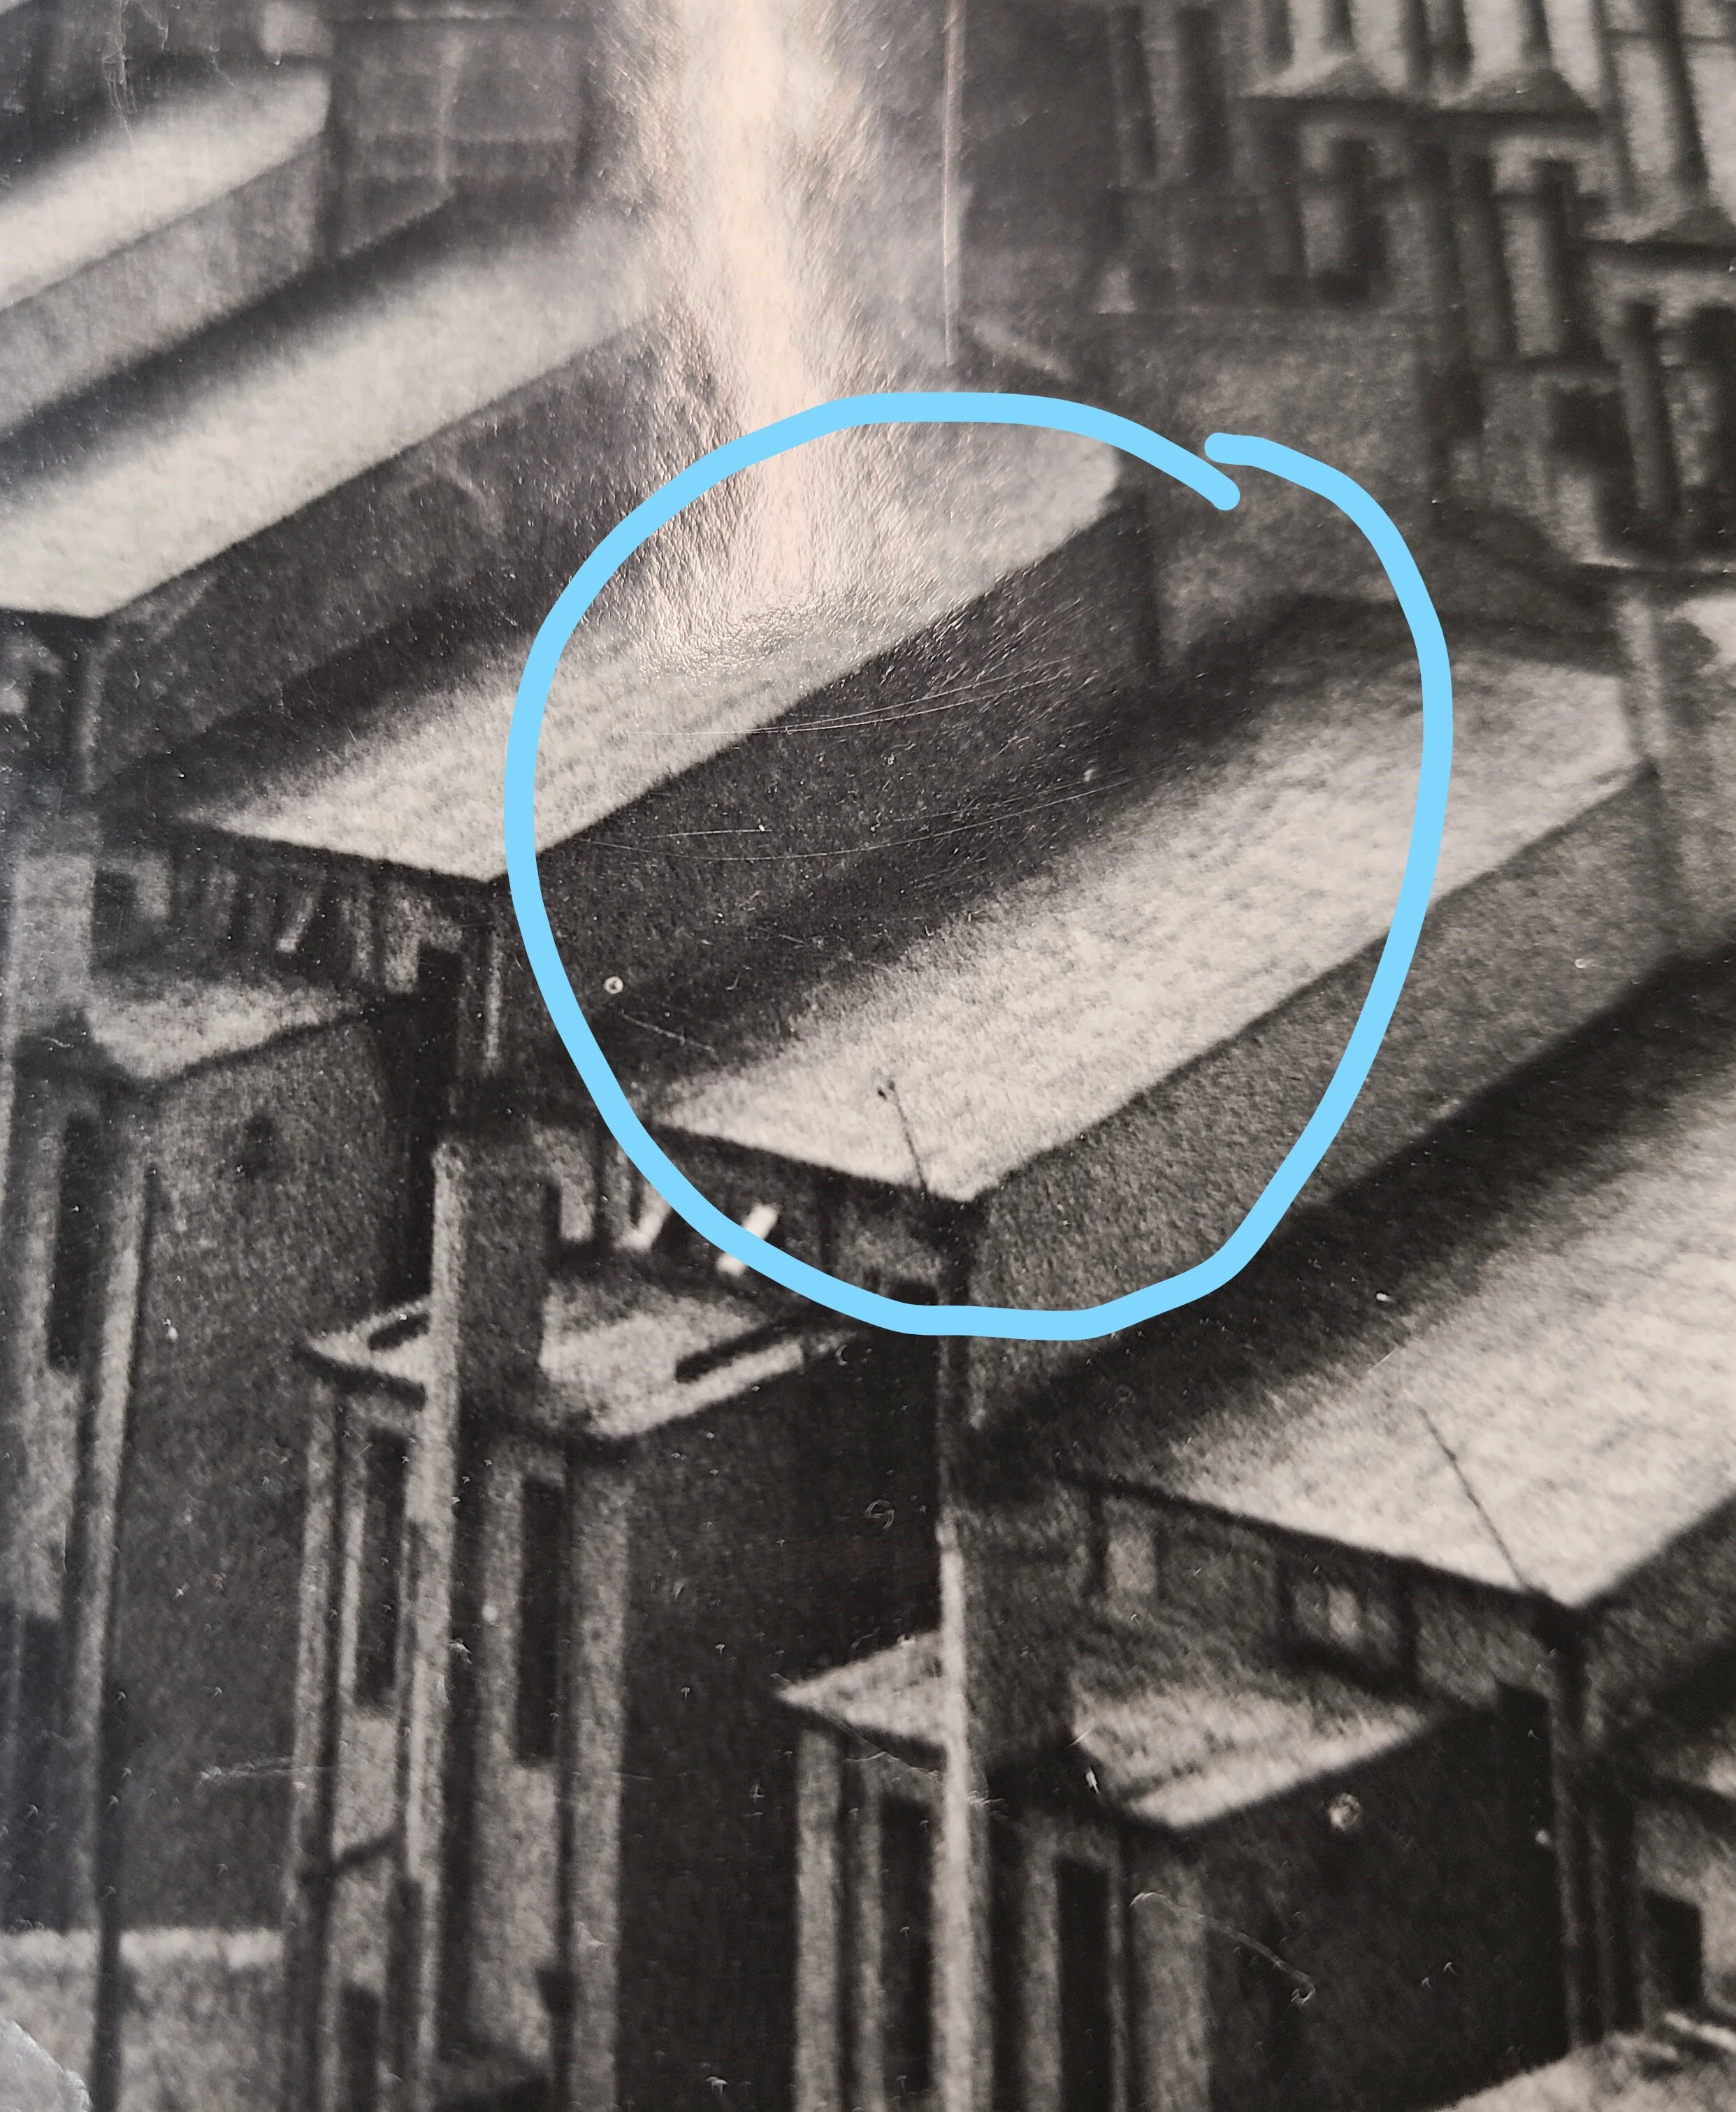
Faint scratches and surface printing can be evidence of ferrotyping. In this case, I am not 100% certain whether it has been lightly ferrotyped.
It takes a long time to develop these skills and to gain confidence in your ability to use them. Just ask anyone who works in this field and they will tell you that it takes years to develop an eye for these details.
Additionally, every photographer has their own methodology for making prints. These unique working styles means I have to keep reading and learning from colleagues at archives, museums, estates, and galleries so my cataloguing is accurate.
Is using a blacklight for print dating useful or misleading?
. . . It depends on who is using it.
In this episode I discussed using an ultraviolet light to see if my print fluoresces when exposed to u. v. rays. This test can help me determine if my print was made before the 1950s, when paper companies started adding chemicals (“Optical Brightening Agents” or OBAs) to photographic paper that would enhance the brightness of the whites.

This is a really clear example of a different Bill Brandt print that fluoresces readily under ultraviolet light. The margins glow brightly, as do the strips of modern tape on the mount. The highlights are blue-purple. This print was likely made in the 1960s or 1970s.

I placed a piece of 8 1/2 x 11 in. paper under “our” Brandt photograph for comparison. It is clear that while the printer paper (shown at the very bottom of the image at left) glows very brightly. So does the modern mount to a lesser degree. However, the print itself is fairly flat. The sky appears to be fluorescing, but I believe it is merely bounce from the lightbulb because I was holding it too close. Make sure that you don’t hold your ultraviolet light too close to the print while you are looking; this could give you misleading results.
Discovering out that a print does not fluoresce under ultraviolet light does not definitively mean that it is a print made before 1950. Photographers did not take all of our photographic papers and dump them in the trash at the stroke of midnight on December 31, 1949. Be careful with assumptions! Use all of the clues for a reasonable conclusion.
Paper choice can vary a lot from photographer to photographer, and Bill Brandt used some papers that don’t have brighteners in them for a lot of his career- even into the 1970s, so this test isn’t infallible!!
Finally, a note about whether to use gloves or not when handling prints… I prefer not to with gelatin silver prints as I like to get a read on the print texture and wearing gloves reduces dexterity. If your hands are freshly washed and dried then handling gelatin silver prints should not be a problem, especially if you are careful to handle prints on the edges and only otherwise if necessary. I do, however, use nitrile gloves when handling Cibachrome prints, daguerreotypes, tintypes, front-mounted photographs, and other works with delicate surfaces or prints that are otherwise susceptible to fingerprints.
Finally, I love what Brandt wrote in his introduction to his book Camera in London in 1948, and I think it fully explains his working method and attitude to making prints. Too often I’m guilty of this- becoming so overanalytical about the printed object that I don’t just enjoy the image itself. . .