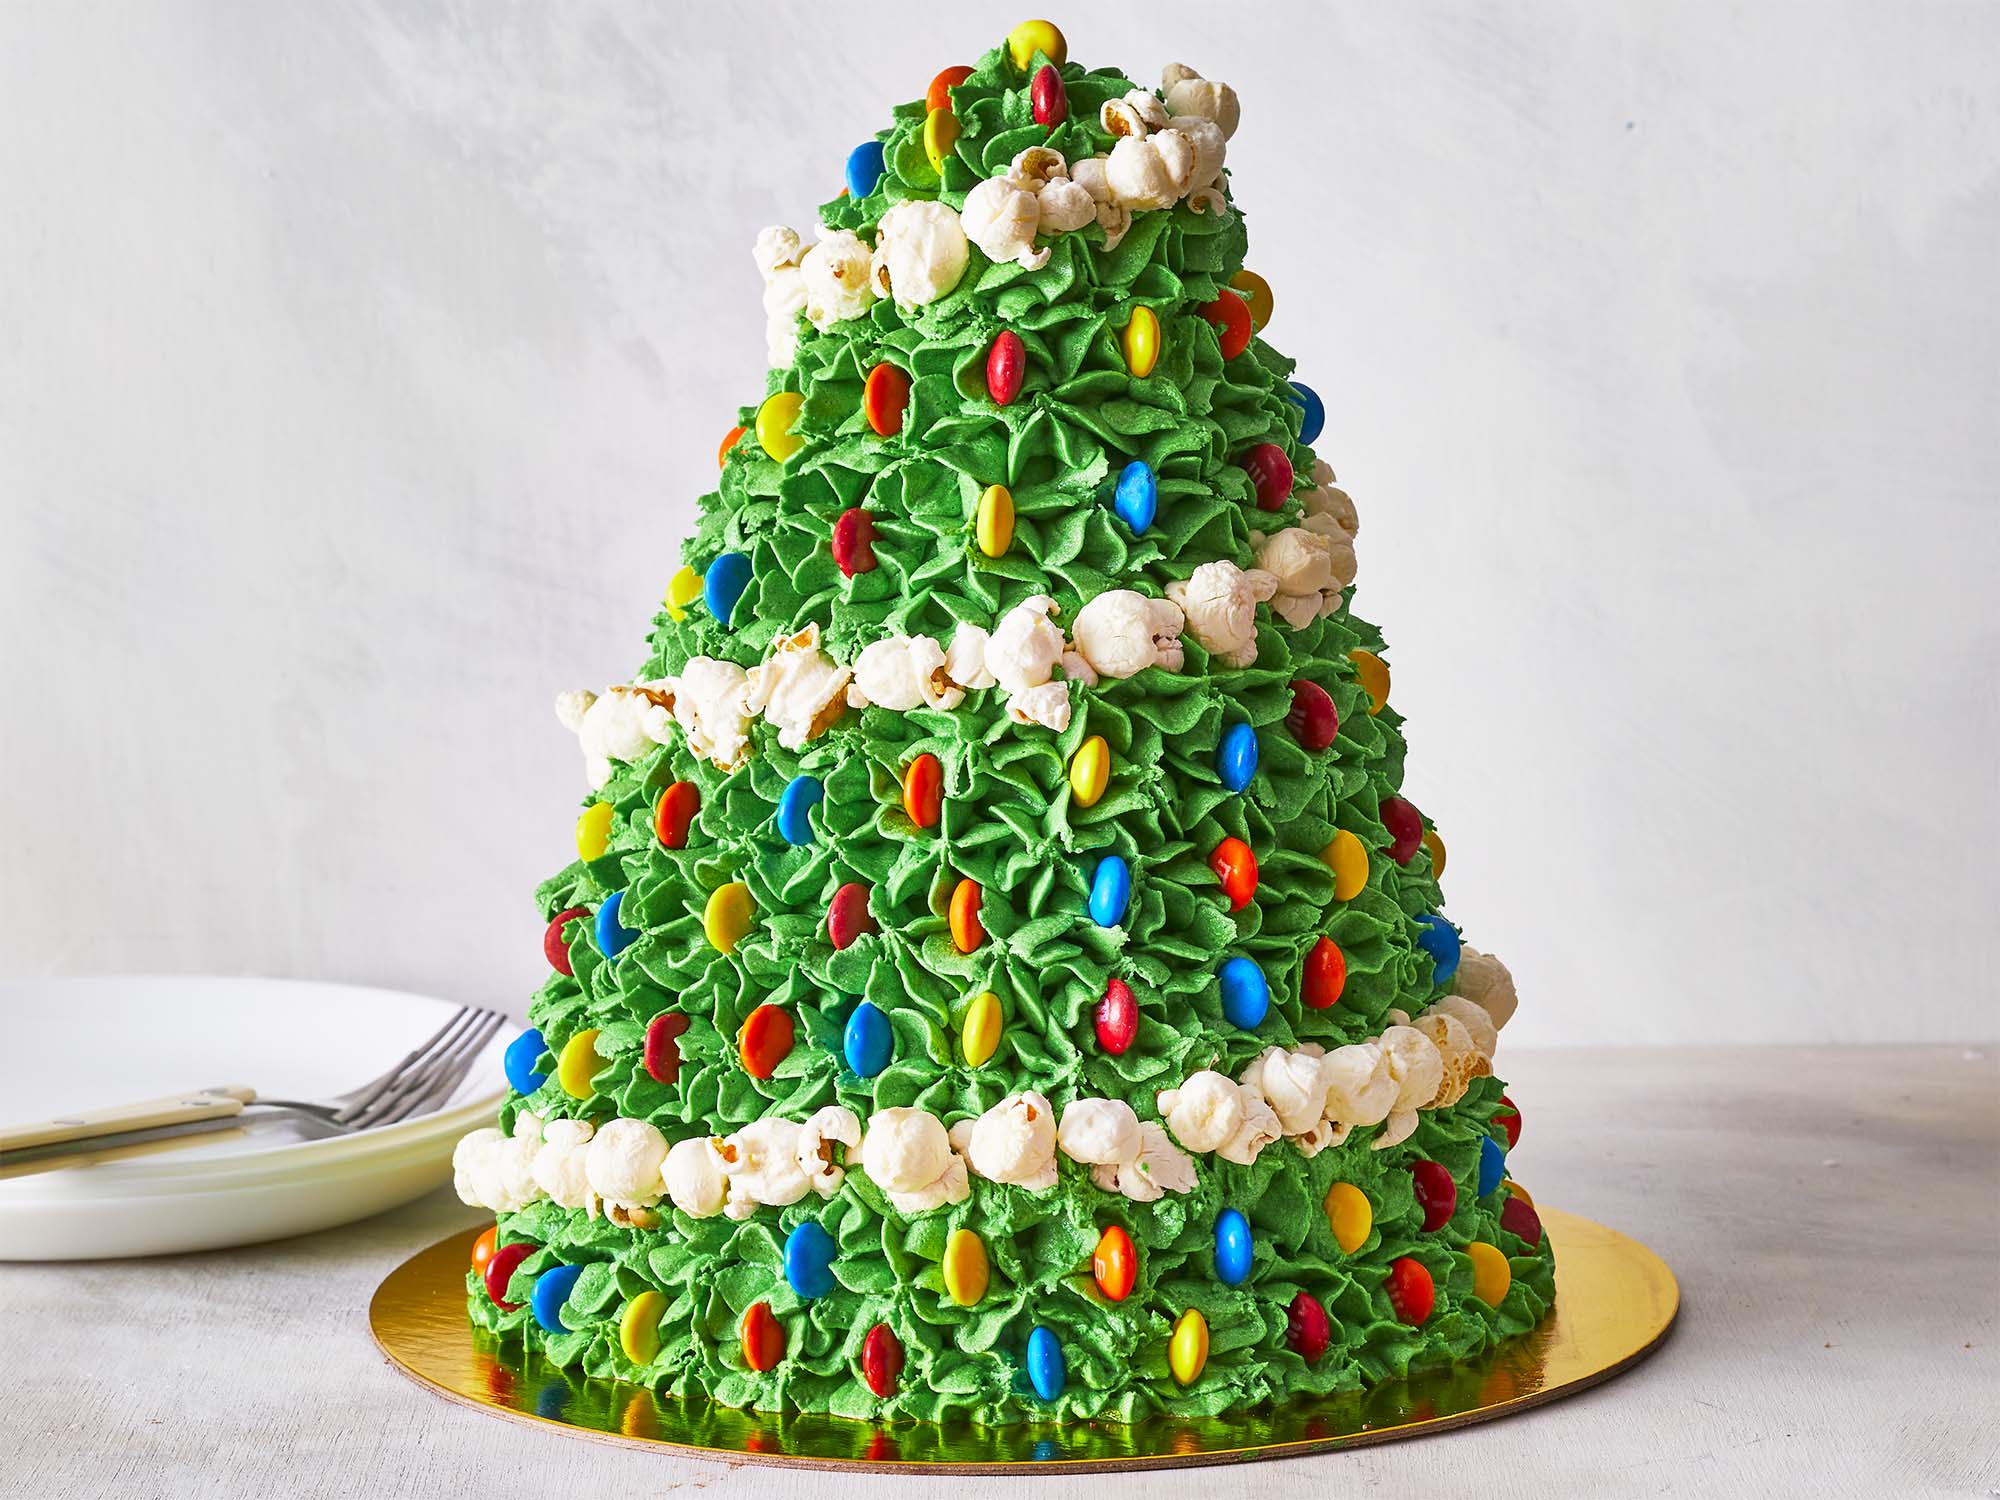
What's better than a festive holiday centerpiece? An edible festive holiday centerpiece. Despite its intricate appearance, this Christmas Tree Cake is surprisingly easy to pull off—you just need a little patience, a lot of holiday cheer, and an assistant (or two) to help you decorate. Pro-tip: While one shareable bag of M&M's is is more than enough, you may want to come prepared with extra if you anticipate snacking along the way. 

Gallery

Credit: Photography: Caitlin Bensel, Food Styling: Rishon Hanners

Recipe Summary

Yield:
Serves 12 (serving size: 1 slice)
Advertisement

Ingredients

Ingredient Checklist

Directions

Instructions Checklist
  • Preheat oven to 350°F with racks in top third and bottom third positions. Coat 2 (8-inch) round cake pans and 3 (6-inch) round cake pans with baking spray. Prepare cake batter according to package directions. Spoon about 2 1/2 cups batter into each 8-inch pan and about 1 1/3 cups batter into each 6-inch pan.

    Advertisement
  • Place all cake pans in preheated oven, evenly spaced on racks and without touching. Bake until a wooden pick inserted in centers of cake layers comes out clean, 24 to 26 minutes for 6-inch pans and 26 to 28 minutes for 8-inch pans. Let cake layers cool in pans on a wire rack 5 minutes. Remove cake layers from pans, and let cool completely, about 30 minutes. Tightly wrap each cake layer in plastic wrap; freeze until firm, about 1 hour.

  • Meanwhile, beat butter with a stand mixer fitted with a paddle attachment on medium speed until pale and smooth, about 2 minutes. Reduce mixer speed to low; gradually add powdered sugar, beating until fully incorporated and smooth, about 2 minutes, stopping to scrape down sides of bowl as needed. Add vanilla, salt, and food coloring; beat until well combined. Add additional blue or yellow food coloring until desired color. Set aside at room temperature until ready to use.

  • Remove cake layers from freezer, and unwrap. Using a serrated knife, gently slice and remove the domed top from each cake layer, leaving 1 (6-inch) cake untrimmed (still domed). Place 1 of the 8-inch cake layers on a cake plate. Using an offset spatula, spread top of cake layer with about 1/2 cup frosting, spreading to edges. Top with remaining 8-inch cake layer; repeat frosting layer.

  • Place 1 of the trimmed 6-inch cake layers in center of cake stack on cake plate; spread top with about 1/3 cup frosting, spreading to edges. Top with remaining trimmed 6-inch cake layer; repeat frosting layer. Top with domed 6-inch cake layer.

  • Using a serrated knife, carve cake stack into a cone shape, starting at the top center of the top cake layer and cutting downward with the knife pointed outward at a 30-degree angle, carving around all sides of cake stack and leaving bottom layer mostly uncut. Discard cake scraps, or reserve for another use.

  • Using an offset spatula, spread a smooth, thin layer of frosting (about 1 cup) around all sides of cone-shaped cake. Chill cake, uncovered, until frosting is dry to the touch, about 30 minutes. (Let remaining frosting stand at room temperature until ready to use.)

  • Spoon remaining frosting into a piping bag fitted with a star tip. Starting at base of cake, pipe a ring of quarter-sized dollops of frosting around cake. Repeat piping directly above first ring. Repeat until entire cake is covered. Decorate cake with chocolate pieces and popcorn. Store cake, loosely covered, in a cool, dark place up to 2 days, or in refrigerator up to 1 week.

Advertisement