These dinosaur Perler beads designs are SO COOL! Celebrate these ferocious, prehistoric beasts by making a Perler bead dino of your own. They’re so easy to make!
Design your own dinosaurs, or download our free templates to make a t-rex, velociraptor, triceratops, and more! These dino Perler beads are super cute. You can make them in traditional colours, like green or brown, or have fun with bright colours like we did!

This post contains affiliate links. If you use these links to buy something we may earn a small commission which helps us run this website.
How to Make Perler Bead Dinosaurs
Materials:
- Perler beads (multiple colours)
- Perler beads pegboard (small square)
Equipment:
- Free Printable Dinosaur Perler beads template (get the 2nd template below)
- Tweezers (optional)
Check Out The Video Tutorial:
Instructions:
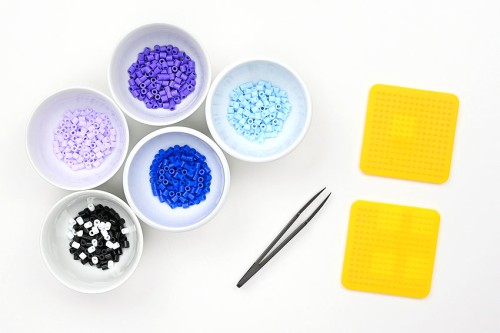
Step 1: Find what you need
- Gather your supplies and materials.

Step 2: Make your Perler bead dino on the pegboard
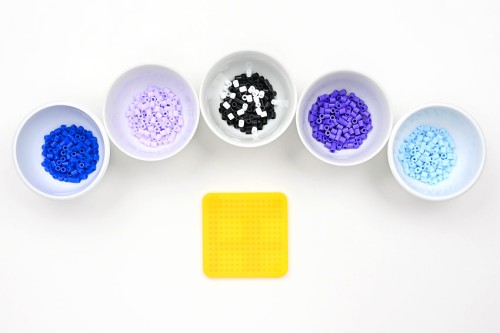
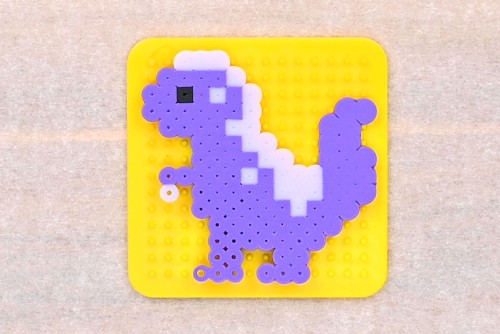
- To make a Perler bead dinosaur you'll need to use a small square pegboard.We also found it helpful to separate and set out the colours of Perler beads we wanted to use.
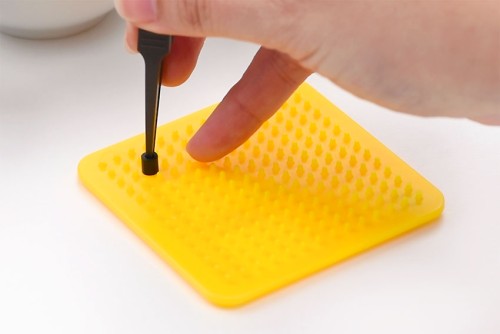
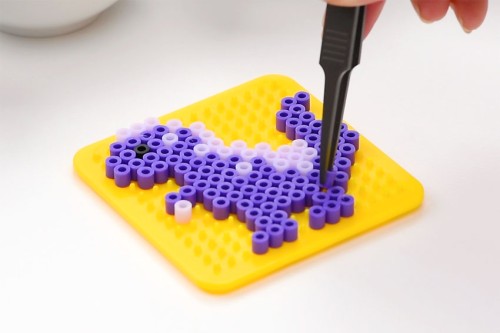
- Optional: Use tweezers to add the Perler beads to the pegboard. Little fingers probably don't need to do this, but it makes it a lot easier for adults!

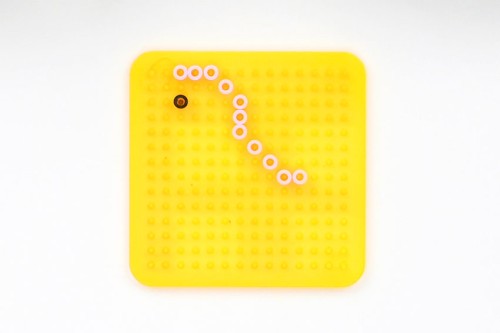
- Start by adding the dinosaur's eye and then begin adding Perler beads to make an outline of the dino's back.
- Follow the template, using a different Perler bead colour to finish the outline of the dinosaur.(And don't forget its little claw!)
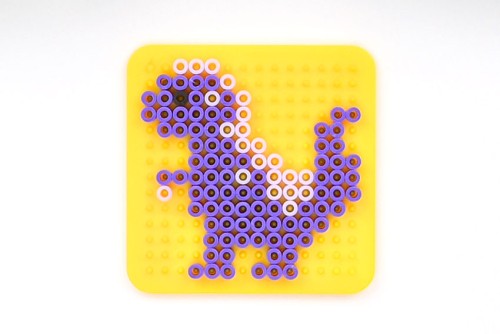
- Continue adding Perler beads according to the template until you've filled in the whole dinosaur.
- Double check your design. Compare the dinosaur to the template one last time to make sure it's exactly how you want it to look.

Step 3: Iron your dinosaur
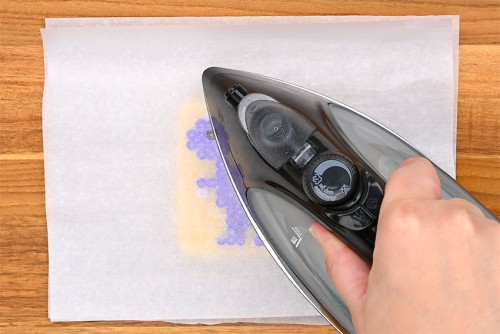
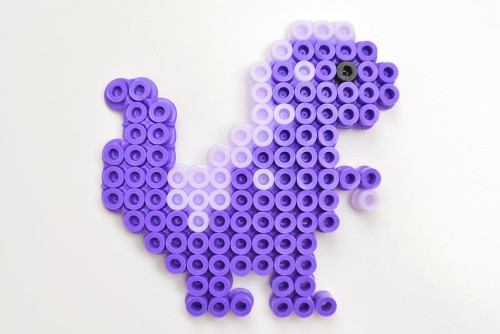
- Put the pegboard on an ironing board or a wood cutting board. Place a piece of parchment paper over top of the Perler bead dinosaur.Heat your iron to medium temperature, no steam. Place the iron on the parchment paper and move it around in circular motions for at least 15 - 20 seconds.
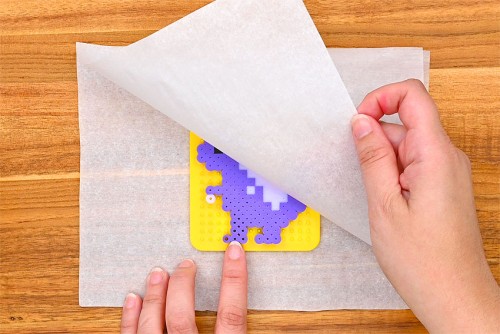
- Check the beads to see if they're melted together. Continue to iron for another 10 - 20 seconds, if necessary.The beads are melted correctly when the parchment paper sticks to the beads and needs to be peeled away from them.
- Leave the dino design on the pegboard until it is cool to the touch.
- Remove it from the pegboard and your dinosaur Perler beads design is complete!
Helpful Tips:
1. If you have a clear pegboard you can slide the template underneath, making it even easier to make your dinosaur Perler bead creation!
2. You can start your Perler bead dinosaurs from any side. We like making the outline first and then filling it in, but you can also start from the top or bottom and fill in one row at a time.

Download our free Perler bead dinosaur templates:
Click on the links below to download our free, printable Perler bead dino templates! The PDF files will open in a new window.
Then simply follow along with the pattern on your device’s screen, or print the templates in colour on 8.5 x 11 (letter size) printer paper.
>>> Dinosaur Perler Beads Template #1 <<<

>>> Dinosaur Perler Beads Template #2 <<<

What are Perler beads?
Perler beads are small plastic beads shaped like a cylinder that are designed to be melted together. They’re also known as “fuse beads” or “melty beads”.
You can make a design from Perler beads by placing the beads on a plastic pegboard. Use a grid template to make a design of your choice (like a dinosaur!), and then iron the beads together.

Can I melt Perler beads without an iron?
Ironing is the best way to melt Perler beads, but if you don’t have one, there are a couple of things you can try.
First, you can use a hairdryer. Cover the pegboard with parchment paper like normal and then hold the dryer several inches above to melt the beads.
Make sure air doesn’t blow the design off the pegboard, and move the dryer around in a circular motion, checking the progress every 10 – 20 seconds.
Second, you can bake Perler beads in the oven or toaster oven. Place parchment paper on a baking tray and make the Perler bead dinosaur directly on the tray, without using a pegboard.
Add the tray into a 300F oven and check the melting progress after a couple of minutes. Continue to monitor the beads carefully until they’re melted as much as you’d like.

What paper do you need for ironing Perler beads?
We place parchment paper over our Perler beads to melt them and it works perfectly! You can also buy specific ironing paper for Perler beads, but regular parchment works just as well.
What can I do with my dinosaur Perler beads creations?
These Perler bead dinosaurs are fun to play with, but you can also craft them into something else. Here are a few suggestions:
- Add a magnet to the back and hang it on the fridge
- Attach a jump ring through one of the holes and make your Perler bead dino into a keychain
- Glue on a pin to make a brooch or a badge
- Use a glue dot to connect the dinosaur to a piece of cardstock. Then make a homemade greeting card, or place the dino in a picture frame to display

These dinosaur Perler beads are totally dino-mite! They’re super cute and really easy to make. Use them for pretend play, or set them up proudly on display!

Here’s even more Perler bead craft ideas:


Or check out these fun dinosaur craft ideas:


Our book Low-Mess Crafts for Kids is loaded with 72 fun and simple craft ideas for kids! The projects are fun, easy and most importantly low-mess, so the clean up is simple!

Where to buy:
You can purchase Low-Mess Crafts for Kids from Amazon, or wherever books are sold:
Amazon | Barnes and Noble | Books-A-Million | Indiebound | Amazon Canada

Let us know what you think: