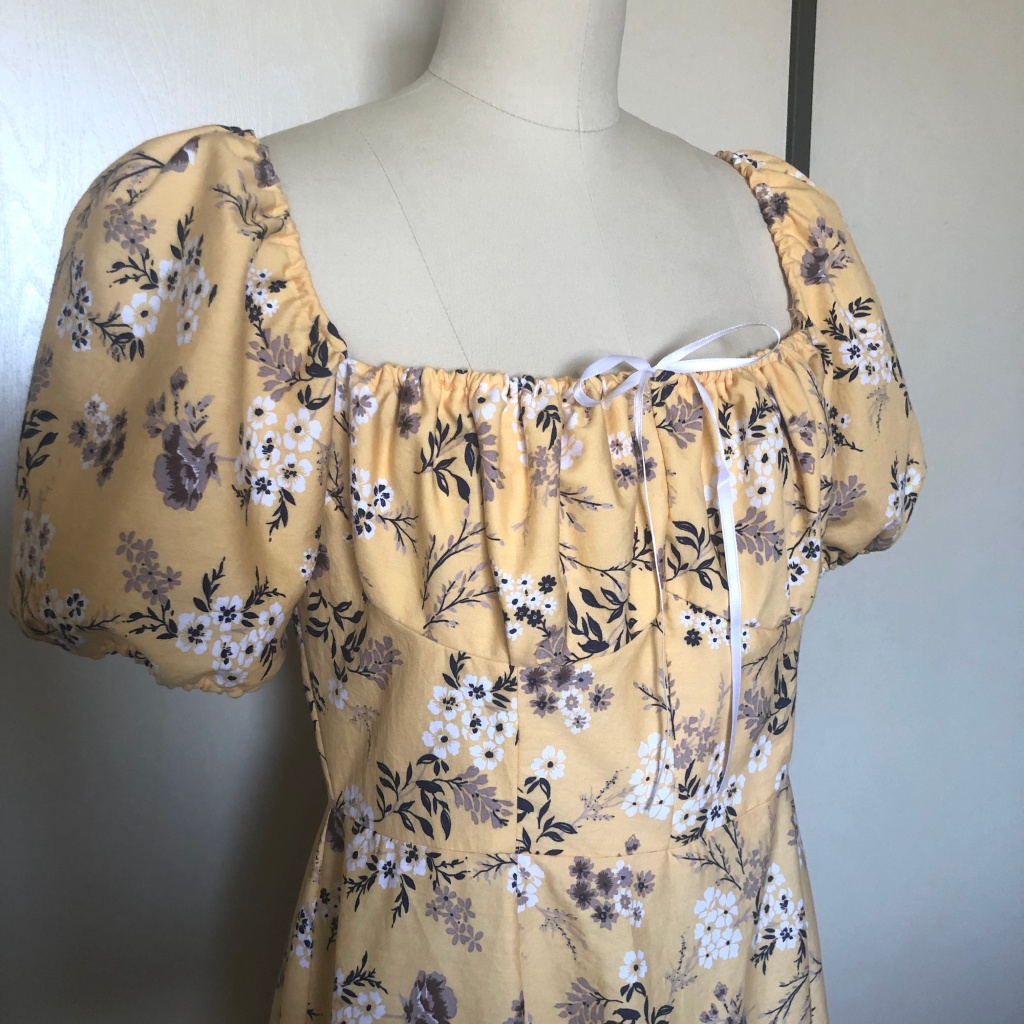
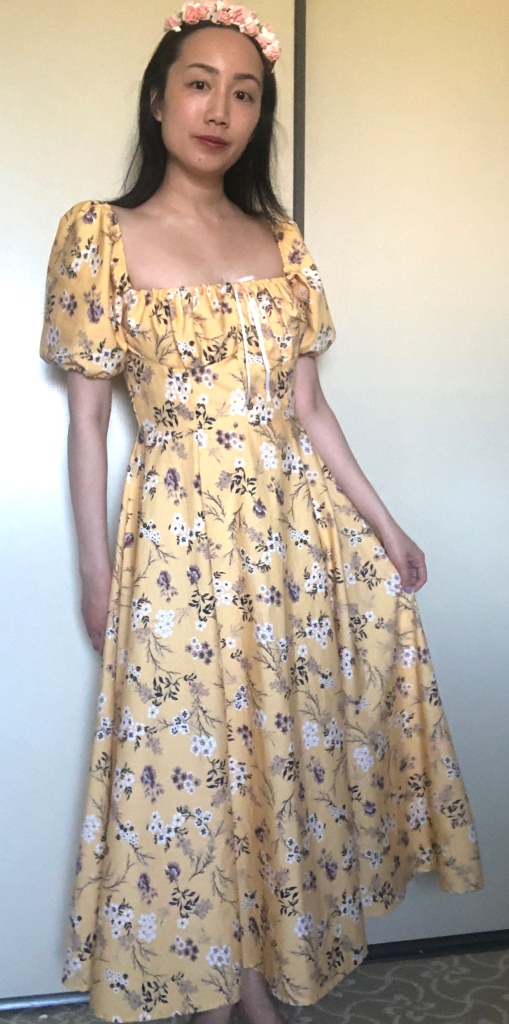
Warm weather means pretty cotton frocks to me so I just recently completed this yellow floral dress, inspired by the cute “milkmaid” style dresses. A lot of cotton prints are a bit thin and require some lining, and I have a special trick to save time by using my serger instead of cutting out the lining twice (later in this post).
Note: I am a member of the Janome Maker program and this skirt is sewn on a Janome Skyline S9 and a Janome FA4 serger. (This post is sponsored by Janome but all content and opinions are mine).
The dress is made of 100% cotton and the yellow print has white and gray flowers and foliage. (I bought 3 yards of a 58″ wide fabric and had some left over). I did not want the top to be see-through so I needed to line it. For this particular dress I decided to flat-line it, which means each individual lining piece is attached to the fashion fabric before the garment is assembled. (This is different from the approach of constructing the fashion and lining layers separately, then putting them together).
The classic method of flat-lining is to cut out the lining and fashion pieces and stitch them together, but I have a time-saving hack using my Janome FA4 serger! First, I put the fashion layer on top of the lining fabric, put in a few pins to keep it from shifting, and cut it out roughly with my rotary cutter.
Then I serge the edges of the fashion fabric, while using the built-in blade of my serger to trim away the excess lining. This saves me the trouble of carefully cutting out the lining and making sure all the edges line up perfectly before sewing!
After serging/flat-lining all the pieces I sewed the seams together normally. This is the bodice without the bust cups:
The bust cups are oval pieces of fabric that are gathered at the top and bottom to fit into the U shapes of the bodice. (The top is folded down to make a drawstring channel for the ribbons, which meet in the middle to make the top adjustable).

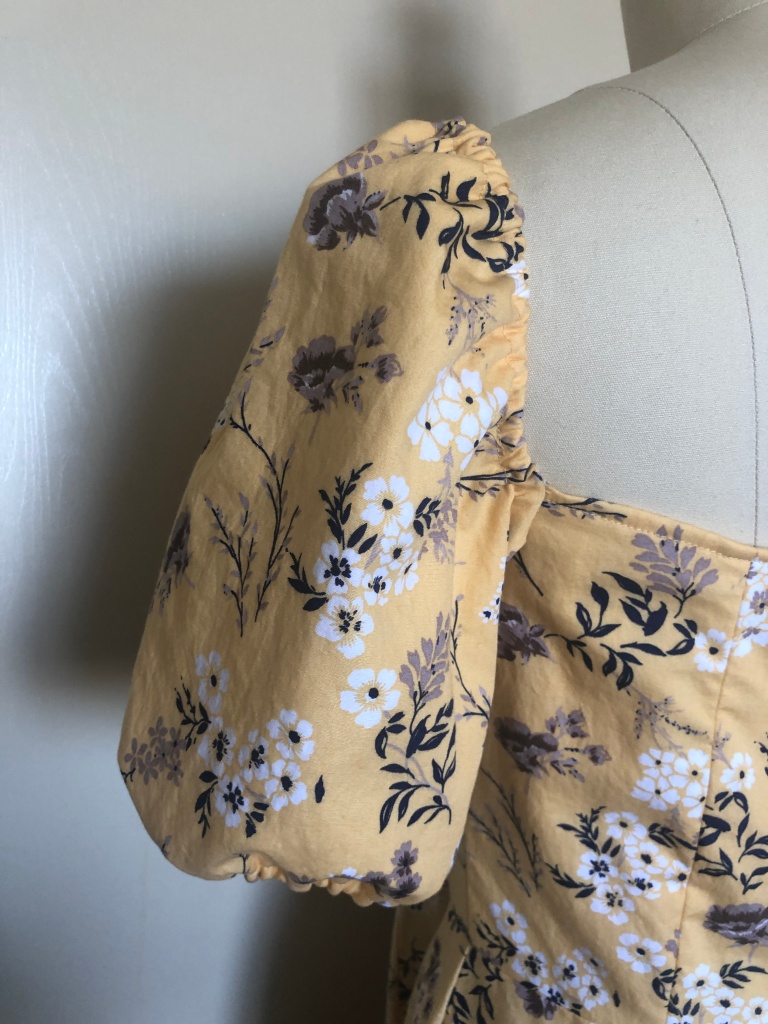
The sleeves have channels on both the top and bottom for elastic to gather it into a puffed sleeve. The underarm of the sleeve is sewn directly to the underarm of the dress while the top of the elasticated sleeve turns into the shoulder of the dress. A few tips I have for sewing this kind of style sleeve: (1) Finish off the top of the back bodice by folding down the serged edges before you attach the sleeve, otherwise you will end up with an odd corner in the back where some serging is visible. (2) Anchor one end of the elastic by sewing it down in the channel where the sleeve attaches to the back of the dress. Use a safety pin to keep the other end of the elastic from sliding back in the channel. Try on the dress, unpin the elastic and pull it tight until the sleeve fits you over the shoulders, then pin it back until you sew it down permanently. Tip #2 is especially important if you don’t have a helper; you can fit the sleeves yourself in a mirror because the loose elastic is in front!
The dress closes in the center back with an invisible zipper. Janome makes a concealed zipper foot (Z) that makes it easy to install one!
I am looking forward to wearing this dress this summer!
Thank you for reading!


